Discover the first Photoshop plugin dedicated to event photo galleries. Send your retouched photos in two clicks, with no manual export.
After spending hours retouching your event photos in Photoshop, you face a tedious step: exporting each image, adjusting the compression, then uploading them one by one to your gallery. This time-consuming routine can turn delivering your photos into a chore.
The Photoshop plugin for photo galleries changes all that. It fits right into your usual working environment and lets you send your retouched photos in just two clicks.
In practice, once your retouching is done, you can:
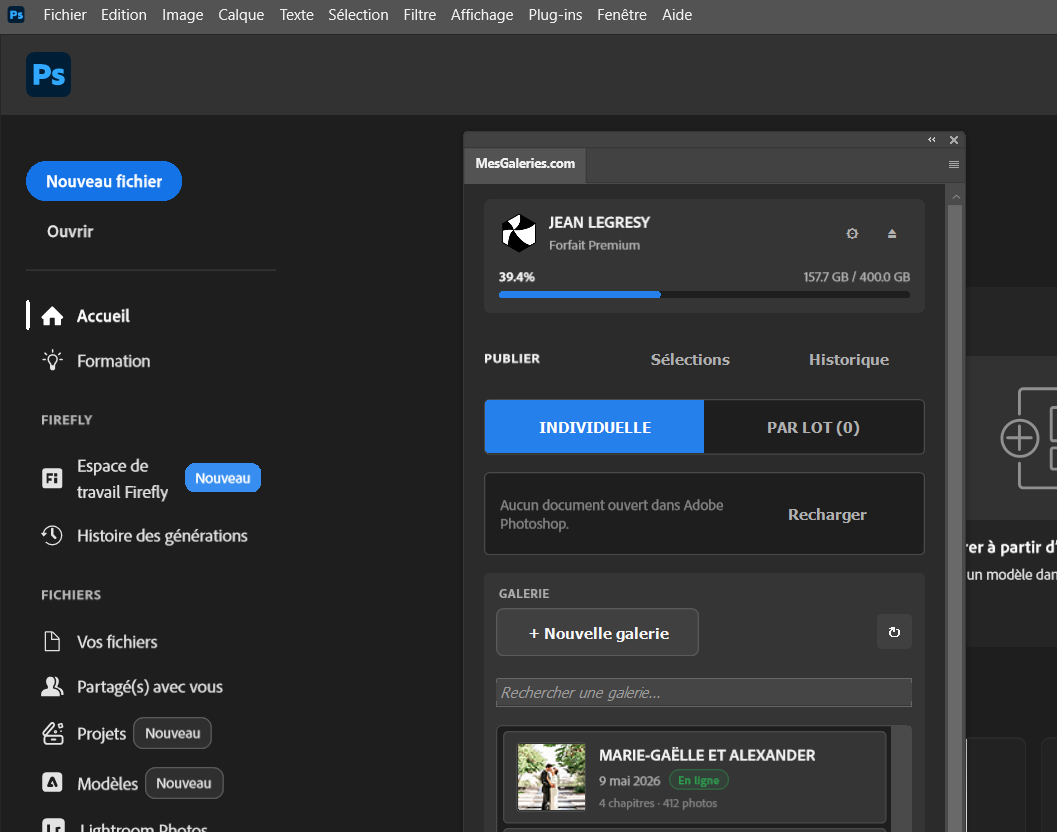
- Send all open documents to an existing gallery, or create a new gallery from the plugin
- Organize your photos into themed chapters (ceremony, cocktail hour, evening party)
- Keep an eye on your storage space in real time
- Automatically close documents after upload
The main advantage lies in export quality. Photoshop automatically handles the JPEG conversion with its optimized compression algorithms and preserves color profiles. Your photos keep their professional look with no manual work on your part.
This native integration eliminates the back-and-forth between applications and considerably speeds up your delivery process, which is especially welcome when you have several hundred photos to process from a wedding or a corporate event.
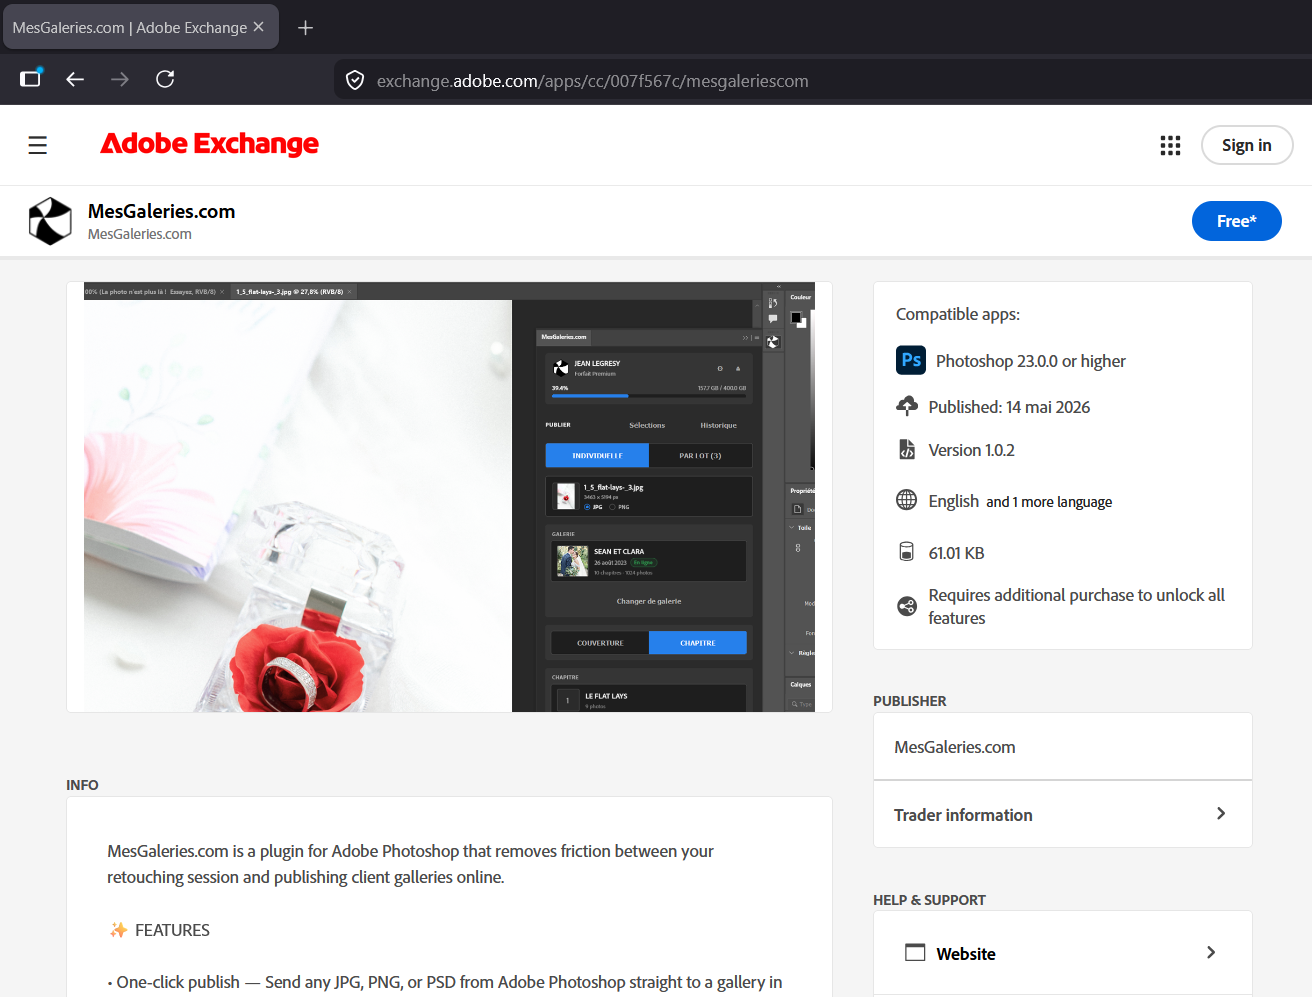
The plugin is installed directly through Adobe Exchange, Adobe's official marketplace for Creative Cloud plugins.
Installation steps:
- Go to Adobe Exchange
- Sign in with your Adobe Creative Cloud credentials
- Click the "Free" button at the top right
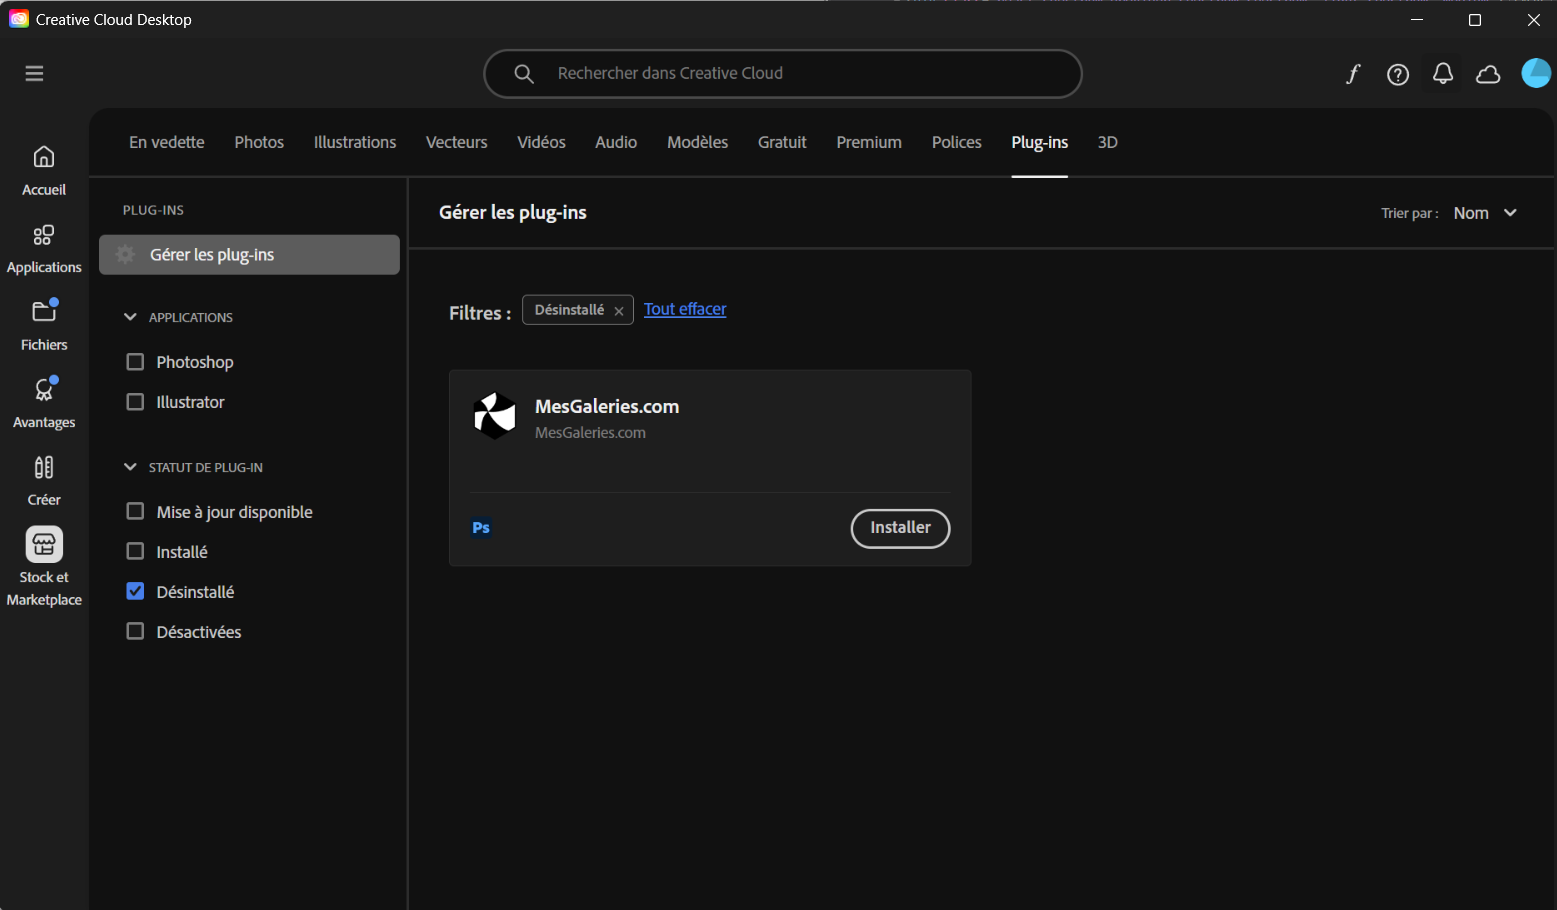
- The Adobe Creative Cloud app opens automatically on your computer
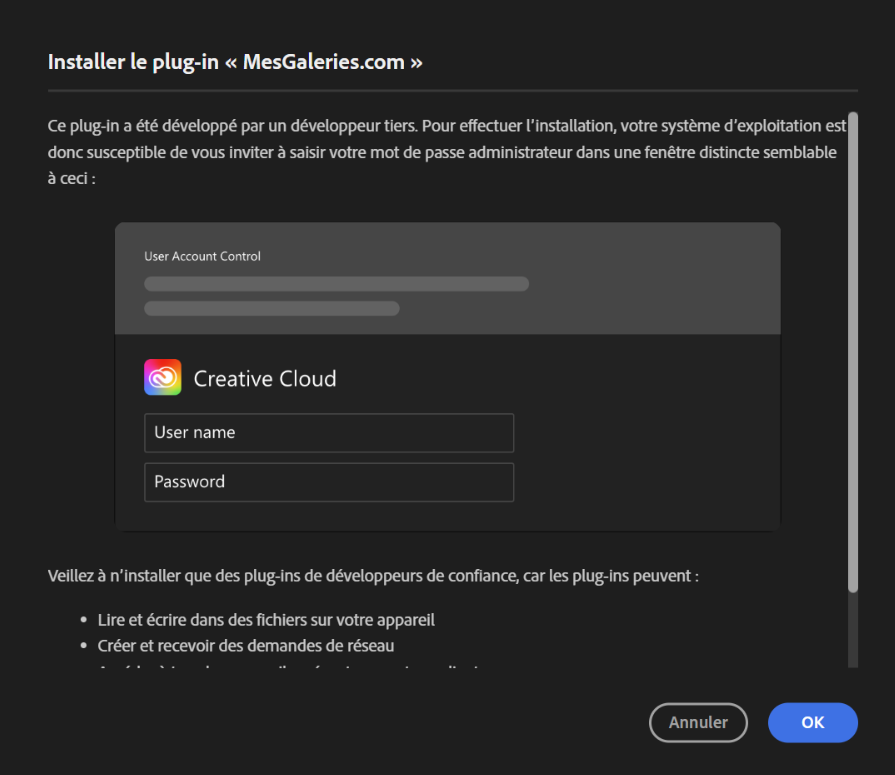
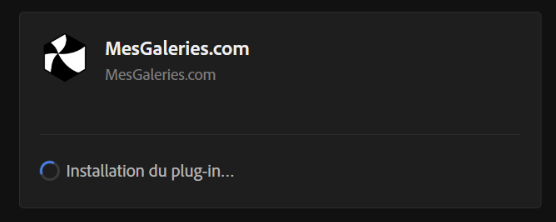
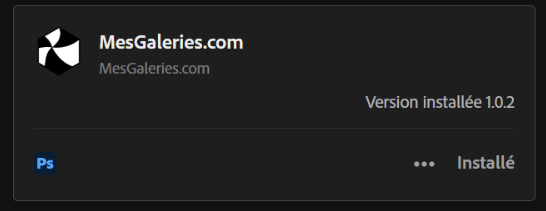
- Click "Install" and accept the requested privilege elevation
Setup in Photoshop:
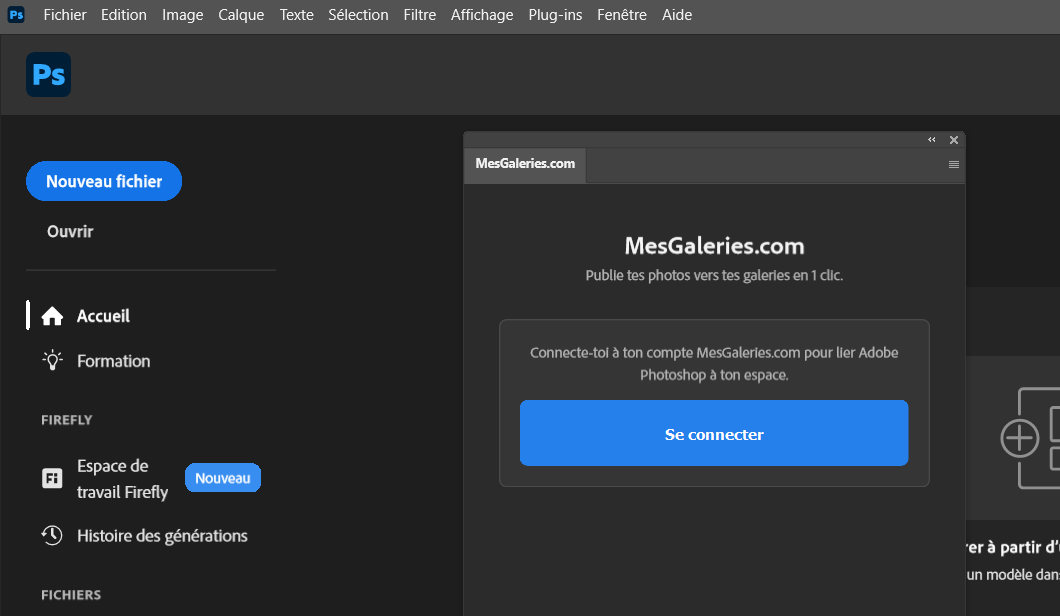
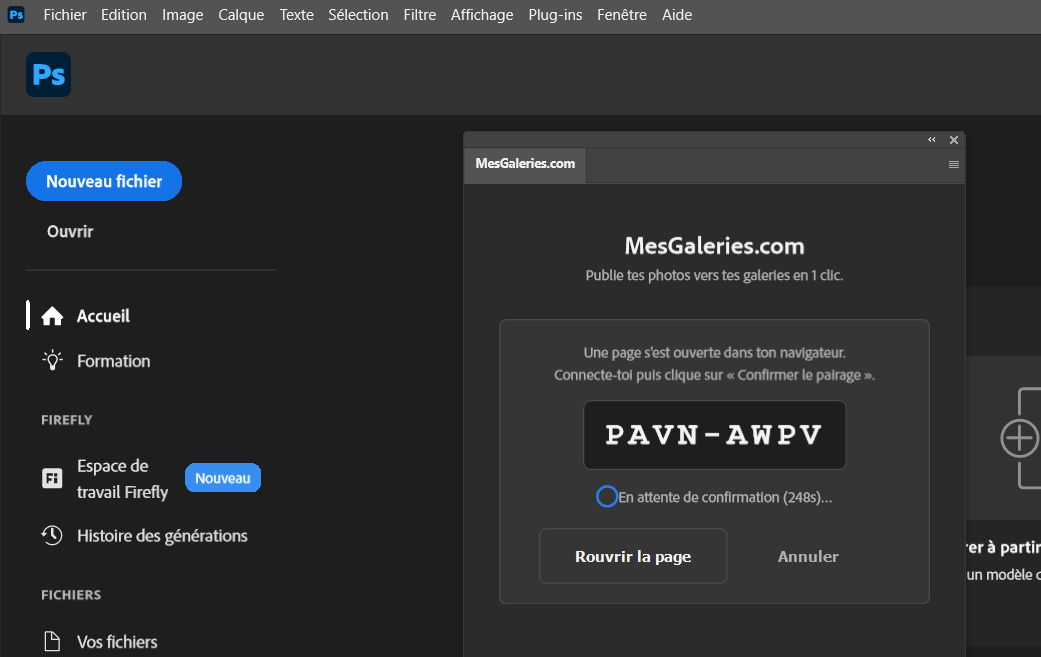
Once the installation is complete, open Photoshop and go to the Plugins > MesGaleries.com menu. In the window that appears, click "Log in". This opens a web page asking you to sign in with your photo gallery account.
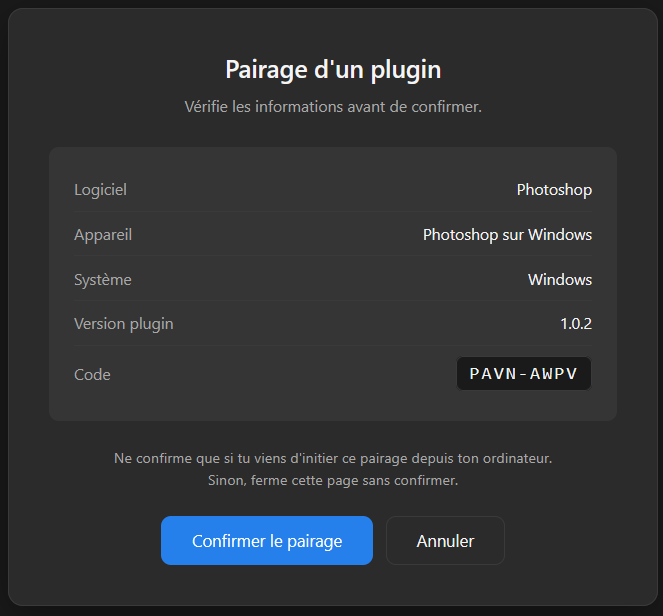
After signing in, click "Confirmer le pairage" (confirm pairing) to link Photoshop to your account. Go back to Photoshop: the plugin is now up and running.
The plugin's interface follows the familiar visual conventions of the tools you already use: intuitive navigation, clear actions, and immediate visual feedback on the status of your uploads. You will feel at home right away, with no learning curve.